When it comes to maintaining the integrity of your property, the roof plays a crucial role. Whether you own a commercial or residential building in Texas, regular roof maintenance and repair are paramount to ensure its longevity and functionality. One common issue that many property owners face is shingle damage. In this comprehensive guide, RA Roofing, a leading roofing company in Texas, will walk you through the step-by-step process of patching roof shingles, helping you protect your investment and avoid costly repairs in the future.
Understanding Roof Repair and its Importance
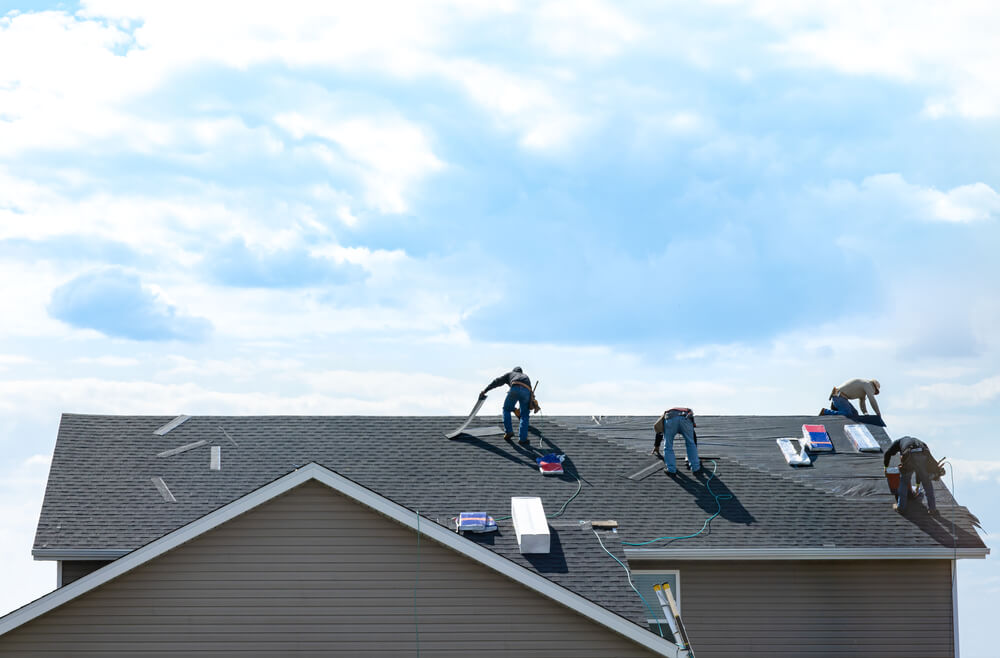
Roofs endure all sorts of weather conditions, from scorching heat to heavy rains, and shingles can wear out over time. When shingles become damaged or start to deteriorate, it compromises the waterproofing and structural integrity of the roof. Promptly addressing any shingle issues can prevent further damage, such as leaks and mold growth, which can lead to more extensive repairs and potentially impact the safety and well-being of occupants.
Step 1: Safety First
Before you embark on any roof repair project, it is crucial to prioritize safety. Ensure you have the necessary protective gear, such as gloves, safety goggles, and a sturdy ladder. Additionally, check the weather forecast and choose a day with clear skies and mild temperatures to carry out the repair.
Step 2: Inspect the Damage
Begin by thoroughly examining your roof for any shingle damage. Look out for missing, cracked, or curled shingles, as well as any signs of moisture-related issues. Take note of the areas that require attention and make a list of the materials you’ll need for the repair.
Step 3: Gather the Materials
To successfully patch your roof shingles, you’ll need the following materials:
1. Replacement shingles: Make sure to choose shingles that closely match the color and style of your existing roof.
2. Roofing nails: Use galvanized nails to secure the replacement shingles.
3. Roofing adhesive or caulking gun: This will help ensure a tight seal and prevent water penetration.
4. Utility knife or roofing hatchet: These tools will come in handy for removing damaged shingles.
Step 4: Remove Damaged Shingles
Using a utility knife or roofing hatchet, carefully remove the damaged shingles. Start by cutting through the adhesive or caulking that holds the shingles in place. Take caution not to damage the surrounding shingles. Once the damaged shingles are removed, ensure the area is clean and free from debris.
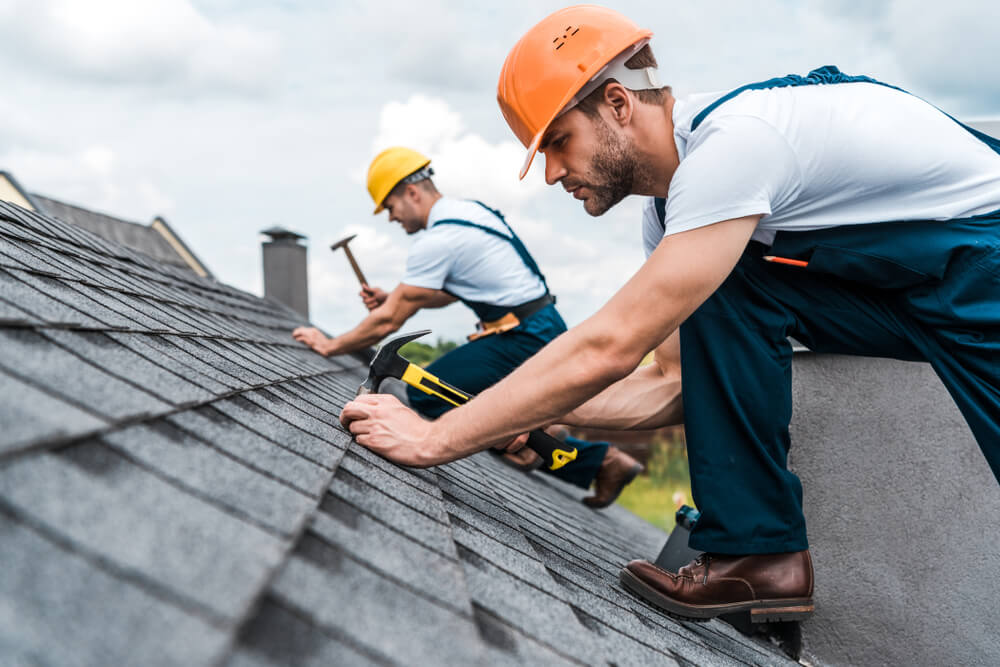
Step 5: Install Replacement Shingles
With the damaged shingles removed, it’s time to install the replacements. Apply a small amount of roofing adhesive under each corner of the replacement shingle before positioning it on the roof. Secure the shingle in place with roofing nails, ensuring they are flush with the surface and do not penetrate through to the interior.
Step 6: Seal the Edges
To prevent water from seeping under the replacement shingles, use roofing adhesive or a caulking gun to seal the edges. Pay close attention to the corners and any exposed nails, as these areas are particularly vulnerable to leaks.
Conclusion
Regular roof maintenance and timely repairs are crucial to preserve the longevity and functionality of your property’s roof. By following this step-by-step guide, provided by RA Roofing, you can effectively patch damaged roof shingles and protect your investment from further damage. Remember to prioritize safety and gather all necessary materials before beginning any repair project. If you find the task too complex or time-consuming, it’s always advisable to consult a professional roofing company like RA Roofing, who can ensure the job is done efficiently and effectively. Protect your property and enjoy peace of mind knowing your roof is in excellent condition.